上一篇我已经讲了在WordPress中使用Loop主循环显示Post文章,这篇文章要介绍下WordPress开发中的重点内容,那就是WP_Query类,如果搞明白这个类,就可以算入门WordPress开发了,无论是开发主题还是插件,今天我们通过使用WP_Query类自定义查询特定的文章内容。
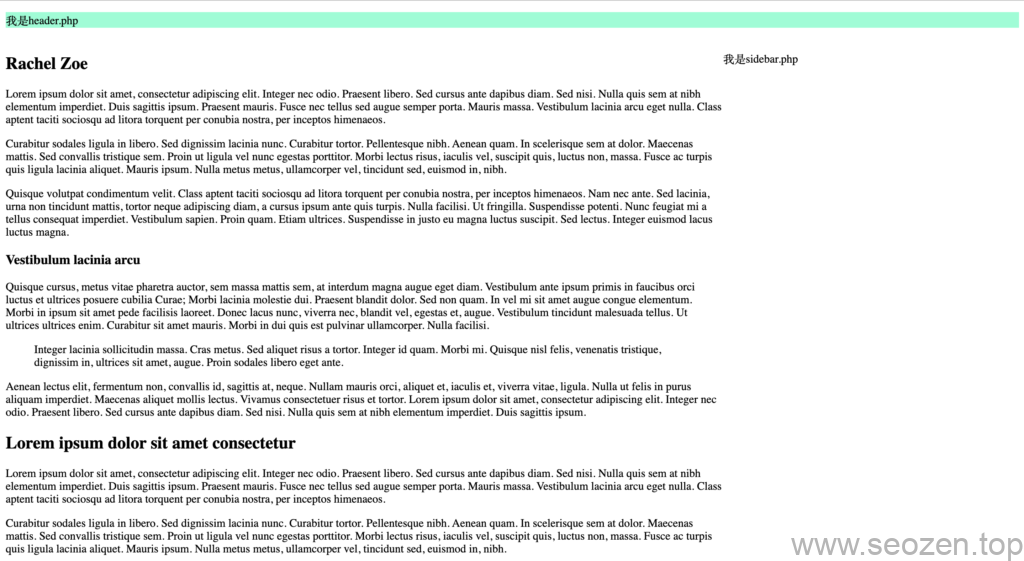
接着上一篇的源码,我们改造下布局,如果没有源码的可以拉到文章最底部Github源码仓库下载,因为这是入门教程,所以都是使用最原始的方法,没有使用任何的第三方库和打包工具等,等这个系列写完,我会再写一个进阶系列,其中会包括使用Webpack配置开发环境,使用TailwindCSS等第三方库的内容,也会在原有基础上深入使用WordPress的各种Hook机制。

WP_Query自定义查询布局
WordPress的心脏WP_Query
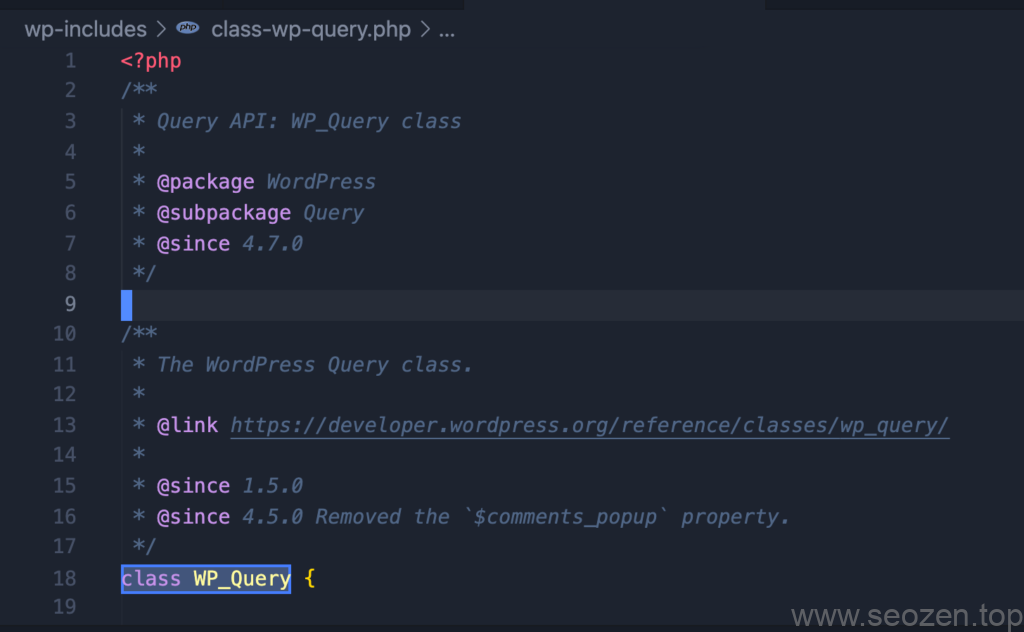
在实际操练之前,我们先来简单了解下WP_Query,这个类主要负责WordPress中的查询操作,源代码在wp-includes/class-wp-query.php文件内,一共有4000多行代码。

WP_Query源码位置
其中光get_posts一个方法,就有1500多行代码,其他我们常用的比如the_post只有十几行代码:
public function the_post() {
		global $post;
		$this->in_the_loop = true;

		if ( -1 == $this->current_post ) { // Loop has just started.
			/**
			 * Fires once the loop is started.
			 *
			 * @since 2.0.0
			 *
			 * @param WP_Query $query The WP_Query instance (passed by reference).
			 */
			do_action_ref_array( 'loop_start', array( &$this ) );
		}

		$post = $this->next_post();
		$this->setup_postdata( $post );
	}
public function the_post() {
global $post;
$this->in_the_loop = true;
if ( -1 == $this->current_post ) { // Loop has just started.
/**
* Fires once the loop is started.
*
* @since 2.0.0
*
* @param WP_Query $query The WP_Query instance (passed by reference).
*/
do_action_ref_array( 'loop_start', array( &$this ) );
}
$post = $this->next_post();
$this->setup_postdata( $post );
}就像前一篇文章我介绍到的,主循环中,我们使用the_post来切换Post文章和装载Template Tag函数的数据,从源码就能很清楚的看到$post = $this->next_post();切换下一篇文章,$this->setup_postdata( $post );把当前文章的数据更新装载到各变量中,这里不深究源码知识,学习编程最快的方法就是看官方文档,还有就是看项目源码,有时候文档没有说清楚的地方,看了源码就一目了然,但是WordPress的源码并不值得花太多时间学习,知道原理就好了。
作为入门WordPress开发,我们只要知道如何使用WP_Query就行,下面我们开始学习如何使用WP_Query进行自定义查询。
自定义查询Post
一般我们网站的侧边栏都会显示当前页相关的内容,这对SEO优化来说是很有帮助的,能增加整个网站相关页的权重分配比较平均,我就演示下如何使用WP_Query查询相关内容,正常来说,我们的网站通常会按两种方式去分类信息,一种是大的分类的形式,一种是标签的形式,这里我们查询相同分类中的文章,我们可以到WordPress开发文档中查看WP_Query的分类参数说明,其中有下面几个参数:
cat (int) – use category id.
category_name (string) – use category slug.
category__and (array) – use category id.
category__in (array) – use category id.
category__not_in (array) – use category id.
cat (int) – use category id.
category_name (string) – use category slug.
category__and (array) – use category id.
category__in (array) – use category id.
category__not_in (array) – use category id.通常我们会使用slug的形式去查询相同分类的文章,对应这里的category_name,其他属性各位有需要就自己查下文档,不然一篇文章就会写的太长,没啥意义,现在我们改造下sidebar.php文件:
<?php
$args = array(
    "category_name" => "travel" // travel是我文章分类的slug
);

$custom_posts = new WP_Query($args)
?>
<section>
    <ul>
        <?php if ($custom_posts->have_posts()) :
            while ($custom_posts->have_posts()) : $custom_posts->the_post()
        ?>
                <li>
                    <h3><?php the_title(); ?></h3>
                    <small>
                        <?php the_excerpt(); ?>
                    </small>
                </li>
        <?php
            endwhile;
            wp_reset_postdata(); // 切忌使用完自定义查询以后要调用这个函数
        endif;
        ?>
    </ul>
</section>
<?php
$args = array(
"category_name" => "travel" // travel是我文章分类的slug
);
$custom_posts = new WP_Query($args)
?>
<section>
<ul>
<?php if ($custom_posts->have_posts()) :
while ($custom_posts->have_posts()) : $custom_posts->the_post()
?>
<li>
<h3><?php the_title(); ?></h3>
<small>
<?php the_excerpt(); ?>
</small>
</li>
<?php
endwhile;
wp_reset_postdata(); // 切忌使用完自定义查询以后要调用这个函数
endif;
?>
</ul>
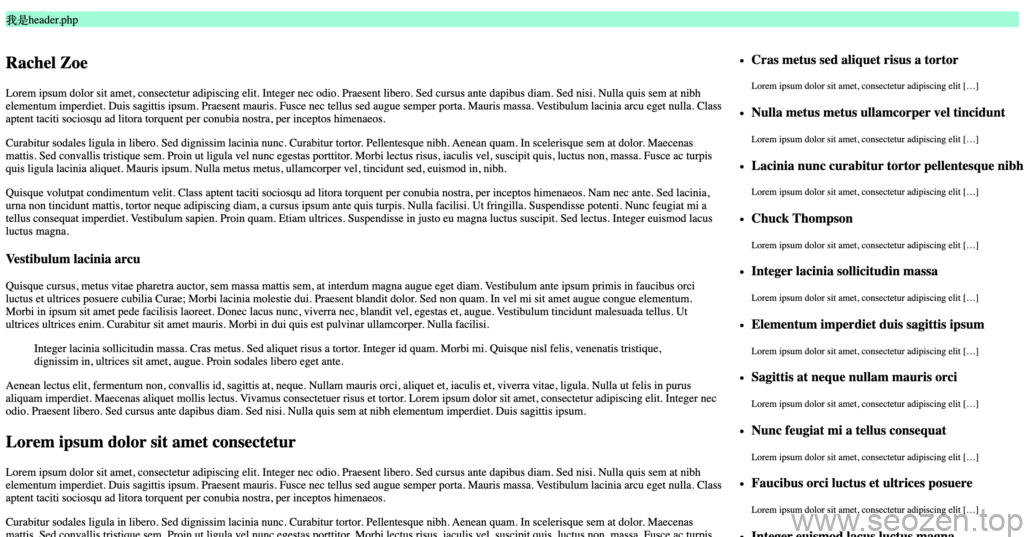
</section>这里我查询"travel"分类的文章,并显示在侧边栏,效果如下:

WP_Query条件查询
OK,这篇文章讲到这里差不多结束,具体的使用还是需要查看WP_Query的API文档,里面有很多参数,如果有什么不懂的也可以留言,下一篇,我要介绍WordPress的主题自定义,并通过改造header.php来演示如何自定义导航栏。
本篇教程Github源码仓库地址: WordPress自定义查询WP_Query
 Hello Yu